If search is the answer, why are folders the strategy?
Recently I had a terrible nightmare.
A department head told me, he wanted to copy all the contents of his group file share — thousands of small files, gigabytes of data — into a Microsoft 365 SharePoint library. While retaining the full 10-level folder structure.
Just before pressing “Go” on a half-baked robocopy script… …I woke up in a cold sweat. And immediately started writing this blog post instead.
Whenever I ask people what they like about SharePoint, I hear things like:
- “What a great search engine — finding things is a breeze!”
- “We can work together on the same file in real time”
- “Versioning and change tracking are great”
- “It’s available everywhere I go”
And yet…
The File Server is Dead – Long Live the File Server
Although search is the most loved feature, many still insist on creating multi-level folder structures. As if SharePoint were just another file server. Well, let me tell you: It’s not.
- A file server is first and foremost about storage.
- SharePoint (and by extension Teams) is Collaboration with storage as a means to an end
So when I hear things like:
- “OneDrive is the new home folder”
- “The department file share is obsolete — let’s use Teams”
…I tend to disagree. Strongly.

Where the Differences Actually Matter
Administration
File Server
- Central file shares are created and managed by IT
- Structure is defined and controlled
SharePoint
- Libraries are managed by end-users / owners
- Creativity often wins over structure
Access Speed
File Server
- Fast, predictable
- Optimized access protocols (SMB)
SharePoint
- API-based access
- Dependent on network, browser, sync
👉 It will never feel as fast as a local file share
Long-Term Storage
File Server
- Designed for long-term storage
- Multi-year backup retention
SharePoint
- Governed lifecycle
- Sites may be archived or deleted if unused
👉 SharePoint is not your long-term archive
Backup / Restore
File Server
- Predictable, structured restore
- Handles large-scale recovery well
SharePoint
- Small restores are easy
- Large restores (thousands of files) are painfully slow
👉 Scale changes everything
Indexing / Search
SharePoint
- Full-text indexing
- Can search inside documents
- Understands metadata
File Server
- Typically filename-based search
- Limited or no content indexing
👉 SharePoint knows what’s inside your files
👉 With a fileserver, the best you can hope for is finding names
Version History
SharePoint
- Built-in versioning
- Easy rollback
File Server
- No true versioning
- “Previous versions” is about recovery — not collaboration
Collaboration
SharePoint
- Real-time co-authoring
- Multiple users can work on the same document at the same time
File Server
- Instant File locking
- “Can you close the file? I need to work on the spreadsheet”
The Human Condition
It’s understandable, that after building up massive fileserver structures over the years, we’re reluctant to let go and start over. Wouldn’t it be so much easier to copy everything to the cloud? And have it indexed for search? Except that chances are you’d be creating a vast data tomb. Much better to clean things up and start fresh. Copy only what you need and keep the structure flat.
When you’re in SharePoint, think collaboration — not storage.
Create the minimum number of folders.
If you need ten levels of folders… You’re not using SharePoint. You’re rebuilding a file server.
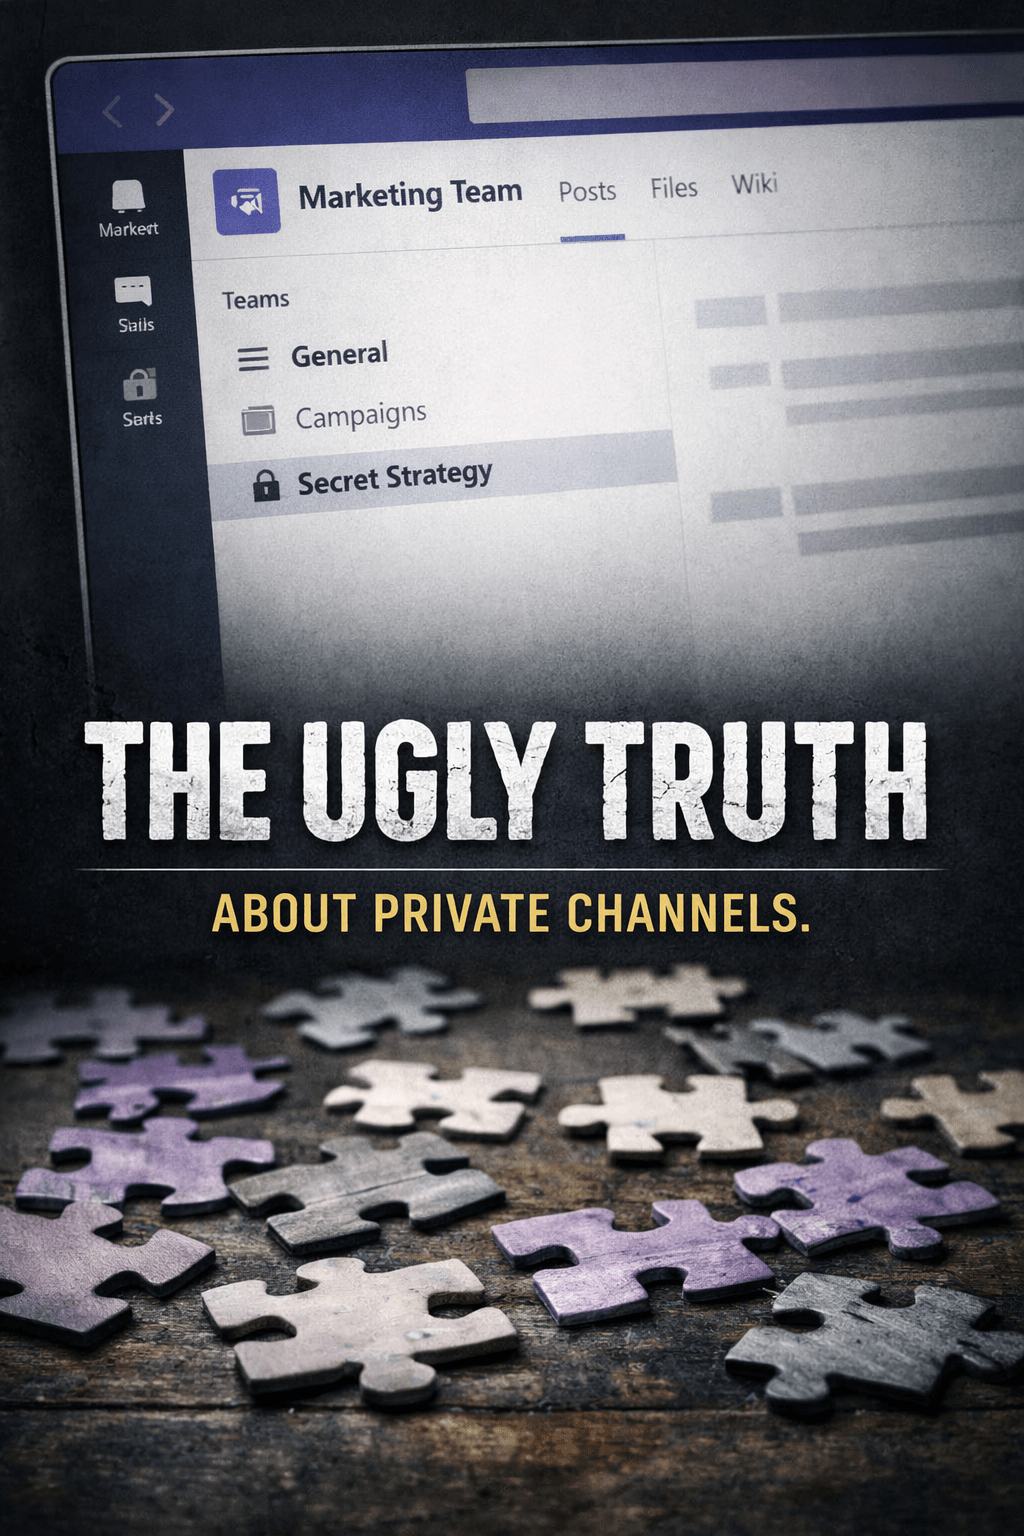
This isn’t just a bad idea for SharePoint. See my previous post about private channels to see how Teams can be affected by the fileserver replacement virus as well: Microsoft Teams: The Ugly Truth About Private Channels
Real World Experience
Recently I was called in to to do a major restore of 70 GB data and 15’000 files. I had one of the major 3rd party M365 backup tools at my disposal but stil the restore took many many hours. Because versioning was unclear, we had to restore to an offline file, then reupload only what was relevant to SharePoint. Again this took a lot of time and was cumbersome. Why 70 GB and 15’000 files? This was just one folder of a much larger structure that someone had robocopied to SharePoint because they wanted to have everything in one place (for „search reasons“). Robocopy is a command line tool with many options and it’s easy to set the wrong switch and overwrite production data.
Final Thoughts
So there you have it: The SharePoint Paradox. Attempting to use a collaboration tool like a file server. You have entered the Twilight Zone. Restructure those libraries… and get back to reality.